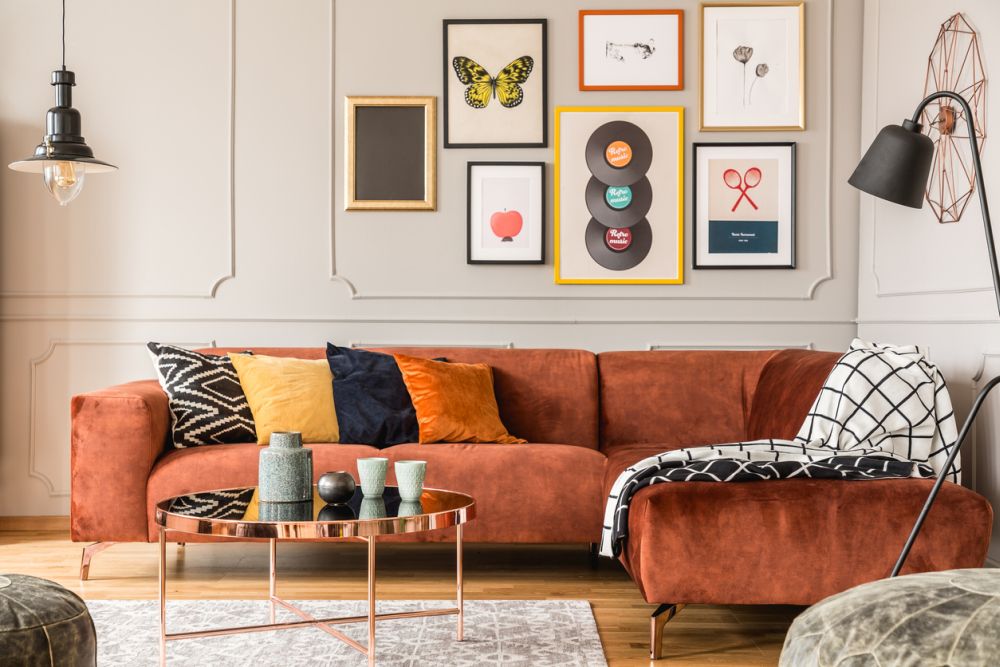
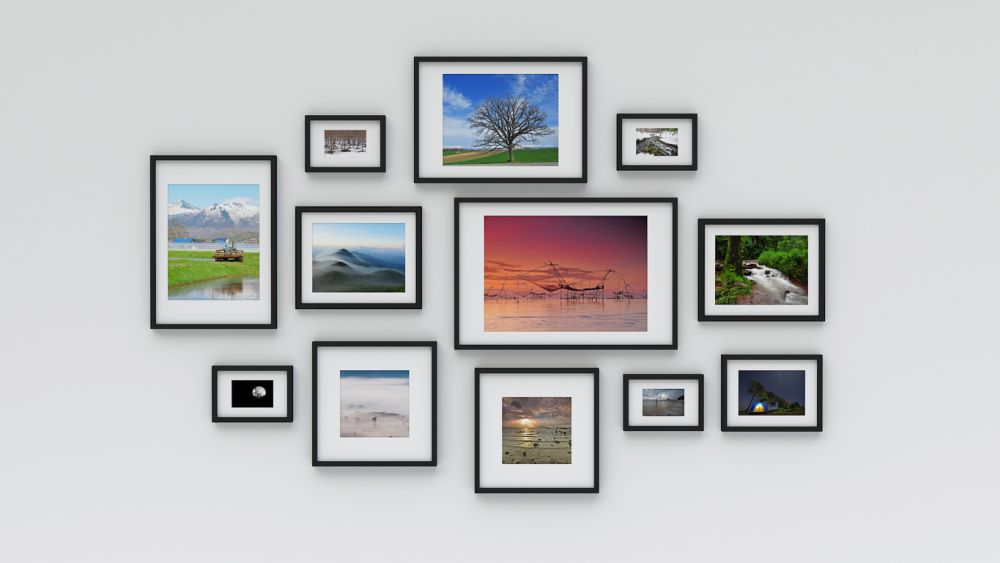
A gallery or a photo wall is a wall that showcases a systematically organized collection of pictures, posters, prints, artwork, or other forms of creative manifestation.
Organizing a gallery wall is a fantastic way to add character to your home, bring out your personality, and create a focal point in a room. It doesn’t mean you have to become an art curator to put together a photo wall since no artistic skills are necessary. But planning is key.
This article describes the best tips for organizing a gallery wall, detailed in step-by-step instructions.
How do you plan photos for a gallery wall?
There are several steps you must take to plan photos for a gallery wall. These are described in the following:
1. Look for inspiration
The first step in organizing a gallery wall is searching for inspiration. Check out the following tips:
- Research gallery wall ideas: Browse magazines and websites such as Pinterest to figure out your preferred photo layout, room, and wall for putting together a gallery wall
- Settle on a story: Decide on the story that you want to tell with your gallery wall. For instance, to highlight the key moments of your spousal relationship, you can display a photographic timeline. We have many excellent ideas for family photo walls, so be sure to check them out!
- Make a pros and cons list: If you can’t make up your mind about a specific gallery idea, note several designs you like and create a pros and cons list for each design. For instance, you could paint the wall before hanging your photos, but painting takes more time and is more expensive since you must hire a painter.
- Get your friends and family involved: Two heads are better than one, so you can get a second opinion from a friend or a family member.
- Create a moodboard: A moodboard is a visual representation used to map out concepts and ideas with the help of pictures, color palettes, textures, cutouts, words, and any other elements that trigger your creative flow. If you have a hard time coming up with a gallery wall idea, you can create a moodboard to help stir your emotions.
- Use online gallery design software: Resorting to software is a great way to get your creative juices flowing, and there are plenty of free online apps that offer templates for creating gallery walls, such as Canva.
2. Pick the right spot
Choosing the perfect wall for your gallery wall is crucial because it will determine the picture arrangement. Here are some tips:
- The room: According to Feng Shui guidelines, you should display your family pictures on the southwestern wall, in the room where your family is happiest. This could be the living room, dining room, or kitchen. If you’re not particularly fond of Feng Shui, you can also showcase a family photo wall in the hallway, above the staircase or fireplace, behind the couch, next to the front door, or in the bedroom.
- Small apartments and shared wall space: Wall space can be troublesome for hanging photos, especially when living in a small apartment or sharing a room with someone who’s not a spouse, friend, or family member, like a collegemate in a dorm. For example, you can use an empty corner to showcase family pictures on both walls.
- Lighting: Your gallery wall should get plenty of natural light during the day, so you should choose a wall accordingly. At the same time, the pictures shouldn’t be directly exposed to sunlight since they will get ruined in time. As far as artificial lighting goes, consider installing picture, accent, or track lights or wall washers using LED, halogen or incandescent light bulbs.
- Clear any obstructions: There shouldn’t be anything blocking access to the wall, like a floor lamp or large plant, so be prepared to rearrange the stuff in your room. When entering the room, the door shouldn’t bump into the picture frames.
- Be mindful of small children and pets: Ideally, your gallery should be at eye level so that the middle is 57 inches (145 centimeters) above the floor. Normally, small children or pets shouldn’t be able to reach the picture frames at that height, but you should double check. If you can’t eliminate the risk of accidentally hurting someone by pulling on heavy frames, it’s best to reconsider the gallery wall position.
- Settle on a complete or work-in-progress gallery: A complete gallery is set in stone since it will include all pictures from the start, so you will know the exact wall space required. For example, a custom-made wallpaper with black and white family pictures should cover an entire wall, but you can’t replace or add new photos. A work-in-progress gallery lets you replace pictures easily and add more down the line, so the wall should have extra empty space. For instance, if you use a couple of ledges for family pictures and have a baby on the way, you should have extra space for an additional ledge with baby photos.
3. Check the wall material
Verifying the material the wall is made from helps to figure out the ideal hanging method for photos, especially when involving heavy frames. Here’s a rundown of the most common wall materials and recommended hanging systems for picture frames.
- Plaster: Plaster is tricky because drilling into it can crack the wall, so it’s best to pre-drill the holes slightly smaller than the nails. If you worry about the nails loosening up over time, using screw-in hooks with anchors is safer for heavy frames. Alternatively, you can install a rail along the plaster wall, use picture hanging wire to hang your photos from the rail, and slide the pictures along the rail if you want to change their layout. Adhesive strips and mounting putty are the easiest methods of hanging pictures on plaster wall, but they only works with frameless photos or light frames.
- Drywall: Drywall is more fragile than plaster since you can use pushpins to attach frameless pictures like Polaroids. Adhesive strips and mounting putty are great for attaching lightweight pictures to drywall without damaging it. For heavier frames, you can resort to self-drilling drywall anchors or drywall toggle anchors, particularly if there’s no wall stud. If the drywall has a stud or a metal frame, you can use drywall nails or coarse-thread drywall screws, but this restricts the position of the gallery since you have to work around the stud or metal frame.
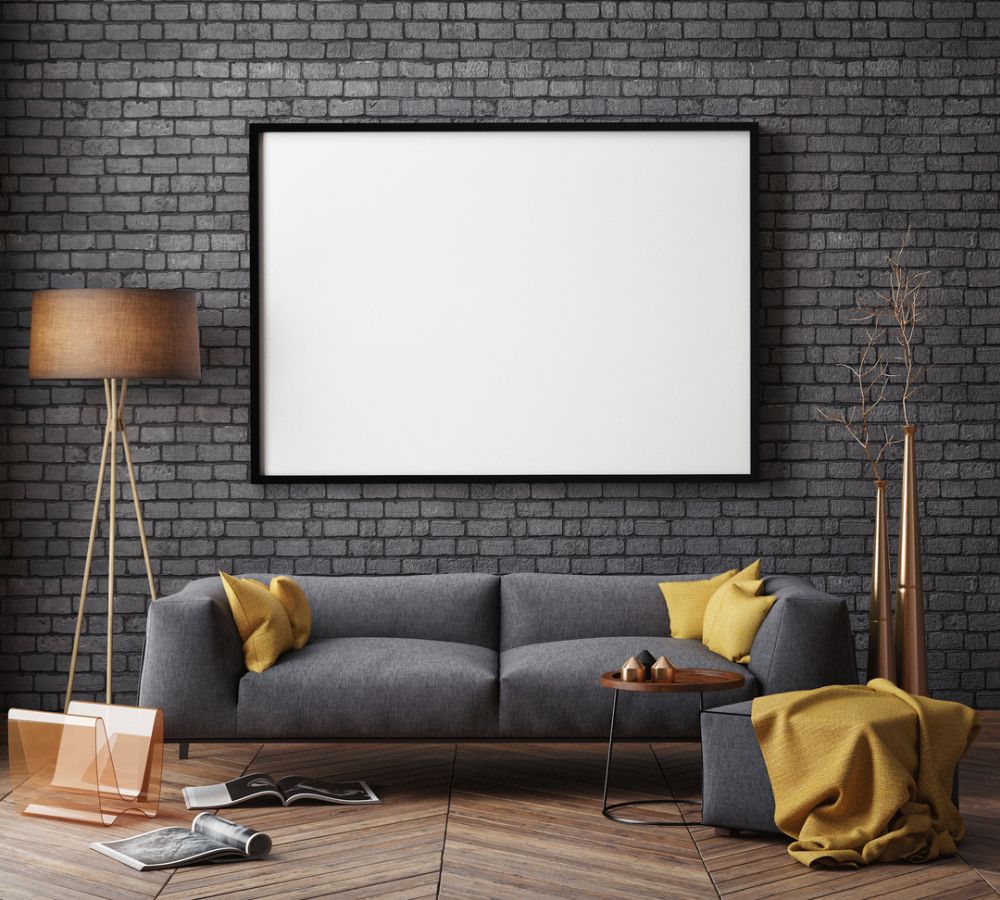
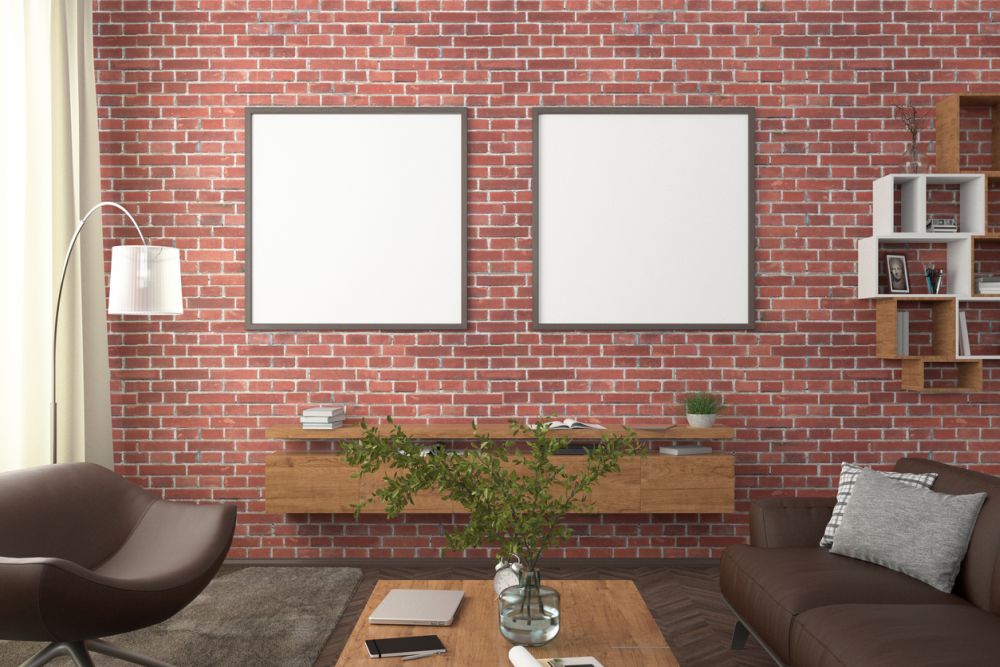
- Brick: Brick is stronger and more rigid than drywall, so you can safely drill picture frames into it without damaging the brick wall. You can use hardwall hangers to support picture frames up to 25 lbs (11.3 kg), brick hook clips for up to 30 lbs (13.6 kg), or masonry anchors for over 30 lbs (13.6 kg). Other hanging systems for brick walls use walldog screws or lead anchors. If you prefer a no-drill solution, use adhesive hooks and mounting tape, or removable putty, but they won’t hold heavy frames.
- Concrete: Although concrete is extremely hard, dense, and more difficult to work with it than other wall materials, you can use similar frame hanging systems from brick: concrete screws (masonry screws) without an anchor or a shield, hardwall hangers, walldog screws, or lead anchors. Adhesive wall hooks work well if you don’t want to drill the picture frames, but they will only support lightweight objects.
- Cinder block: Cinder block walls aren’t as strong as concrete walls, but they’re still challenging to work with since their center is hollow. To hang heavy picture frames on cinder block walls, you can use concrete screws, expansion bolts, or hardwall hangers. If you don’t want to risk damaging the cinder block while hammering it, you can use construction-grade melt glue or landscape block adhesive. For a lightweight gallery wall, go with mounting putty, hot melt glue, self-adhesive hooks, or self-adhesive display strips.
- Wood: Wood is a flexible material for hanging pictures, so you can use nails, screw-in hooks, adhesive strips, or mounting putty without any issues.
4. Prepare the pictures
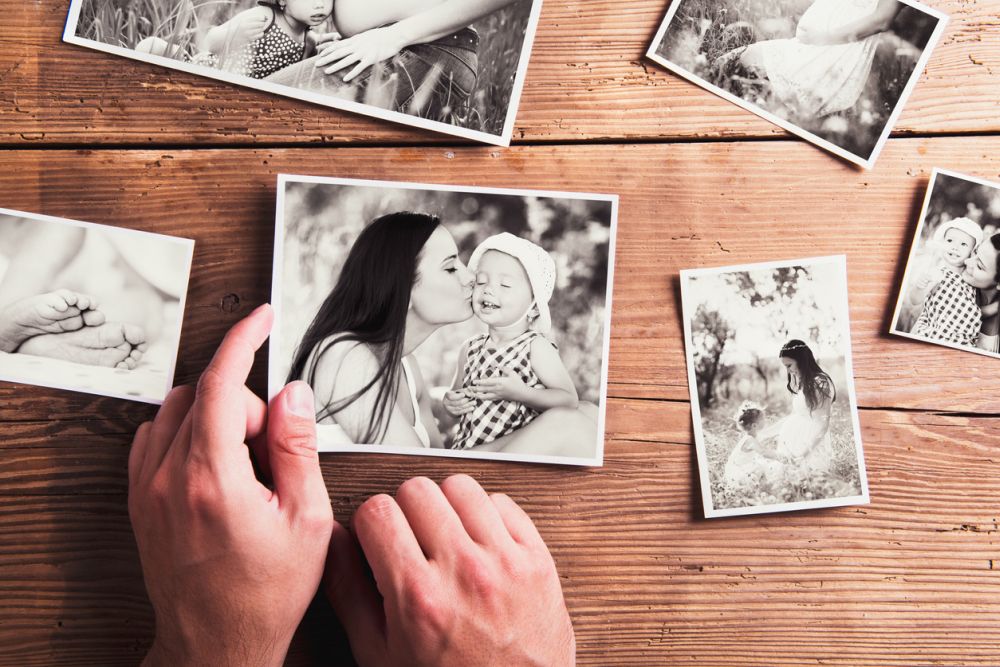
Selecting the pictures that will go up is the most important and entertaining part of organizing a photo gallery wall. While it’s fun to revisit your most precious memories, remember the following simple rules in mind that will help streamline the entire process and create a cohesive photo gallery wall.
- Choose the type of photos: You may have an impressive collection of pictures that are black and white, color, instant, or prints, but they won’t look well grouped together. To achieve a cohesive design for your gallery wall, try to stick to a format: only black and white or only color, only instants, or only prints. And if you want to bend the rules a bit and include pictures from all formats, you can scan your instants, make all images black and white, and print them.
- Decide on a gallery theme: Randomly choosing pictures is fun and spontaneous, but it might not be suited for a gallery wall. However, choosing a theme will help tell the story of your displayed photos. Besides, there’s nothing stopping you from creating several gallery walls if you have many stories worth telling. And it will also keep your gallery wall organized since the theme narrows down the scope of pictures to select. For instance, you can showcase your family’s milestones, a family tree with old-timey photos, pets, artwork, Instagram pictures, or even a family photoshoot.
- Select the pictures: Once you have a plan of what your gallery wall will look like, it’s time to choose the actual photos. The simplest way to do this is by going through all pictures and setting aside your favorites. If you are putting together a family gallery wall, be mindful of other family members and have them weigh in. For example, you can pick the best family photos together or have each member pick out one or more of their favorites.
- Scan and print photos: Unless you’re planning a gallery wall with authentic pictures, it’s best to scan and print any physical pictures, in order to preserve the originals. It’s also an opportunity to digitize your archive of inherited family pictures. Besides, this makes it possible to edit the images if they need a bit more work to achieve a cohesive design.
- (Optional) Make photo adjustments: You can fix minor issues with digital photos using online image editing software, and you don’t need advanced graphic editing skills. For instance, some pictures look incredible in black and white but lose their charm when colored, and vice versa, so you can make all images black and white – coloring black and white photos is also possible, with the help of online AI. You can also replace the background in a picture or crop a photo to zoom in on a person’s face.
5. Decide on the photo layout

How you display your pictures on the wall depends on several factors, such as available wall space, gallery theme, and whether you want a complete or work-in-progress gallery. The following tips should help you decide on the photo arrangement easier:
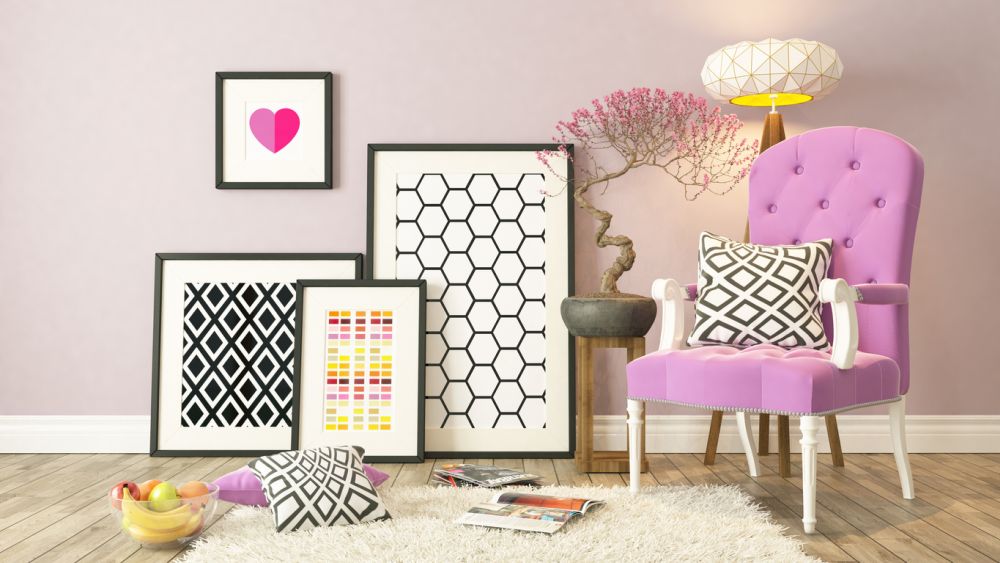
- Shape of the picture gallery: You can display the photo gallery in various shapes, such as a grid, pyramid, diamond, heart, or hexagon. Or you can make a photo arrangement from the ground up, without trying to create a specific shape. If you decide to do this, ensure the photos will be evenly spaced out.
- Picture frames: There are numerous options for picture frames, such as modern, shadow box, floating, collage, poster, or floor-standing. Or you can go frameless. To obtain a cohesive design for your gallery frame, you should go with a single type of frame. The frames you choose should match the gallery theme. For example, shadow box frames are deeper than regular frames, so you can use them to display bulkier objects, such as button art.
- Shape of the picture frames: Picture frames are usually rectangular, but they can also be circular, hexagonal, or other shapes. If you prefer an eclectic gallery wall, you can choose several shapes. On the other hand, antique picture frames have unique shapes, so you shouldn’t combine them with other frame shapes.
- Size of the picture frames: Picture frames come in different sizes, ranging from 4 x 6 in (10 x 15 cm) to 20 x 24 in (50 x 60 cm). It’s up to you to decide the ideal size for showing off your images. For example, if you’re going for a grid-style gallery, all picture frames can have the same size. But if you want a focal point, you should hang a large photo frame in the middle and add smaller frames around it.
- Color of the picture frames: There are multiple colors available for picture frames, with black and white being the most common ones. To have a cohesive gallery wall design, it’s best to pick a single color for all your frames. But if you want your gallery wall to become the focal point of the room, multiple picture frame colors might be more suited. For example, you can use multicolored wash tape to craft frames for your watercolor artwork.
- Reserved gallery space or frames for quotes: Some people prefer writing something on the gallery wall, which can be inspirational, sentimental, empowering, or otherwise. For instance, a family gallery wall can have a small section that says “Together, we make a family” or another family quote. If you wish to have written text on your gallery wall, take care to make room for it, whether it will be a sticker or have its own frame.
Generally, a simple or classical photo layout might not be as initially attractive as a picture gallery with unusual elements. But unconventional styles tend to get boring and lose their charm in time, whereas classical designs are timeless. So if you’re the type of person who doesn’t like making changes too often, you might like a simple photo arrangement. But if you make home improvements often, you might prefer unconventional gallery walls.
6. Make measurements
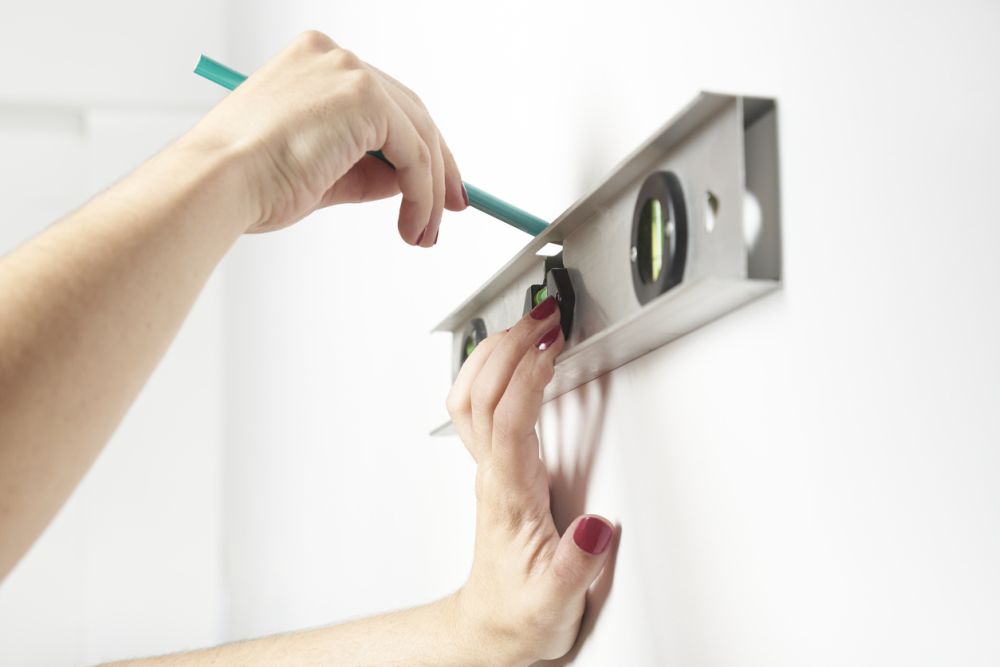
Once you have a clear picture in mind of what your gallery wall will look like, it’s time to measure everything. Here is how:
- Start by measuring the wall: Using a pencil, mark the corners of your mapped picture gallery, ensuring there’s plenty of wall space left on each side. This helps to figure out how many pictures fit the space. The middle of the gallery should be at eye level. Then create the outline of the gallery by using the pencil and a level so that it’s straight. Within this outline, you will put up your pictures.
- Outline the picture frames: Using the gallery’s outline as a guide, outline the picture frames in pencil, taking care to leave space between each frame. If you’re going to include a quote, mark its spot in the gallery.
- Compare the wall space to your mapped photo layout: Your mapped photo layout must fit the outline of the gallery. Once everything is in order, mark the anchor and screw placements.
7. Test the photo arrangement
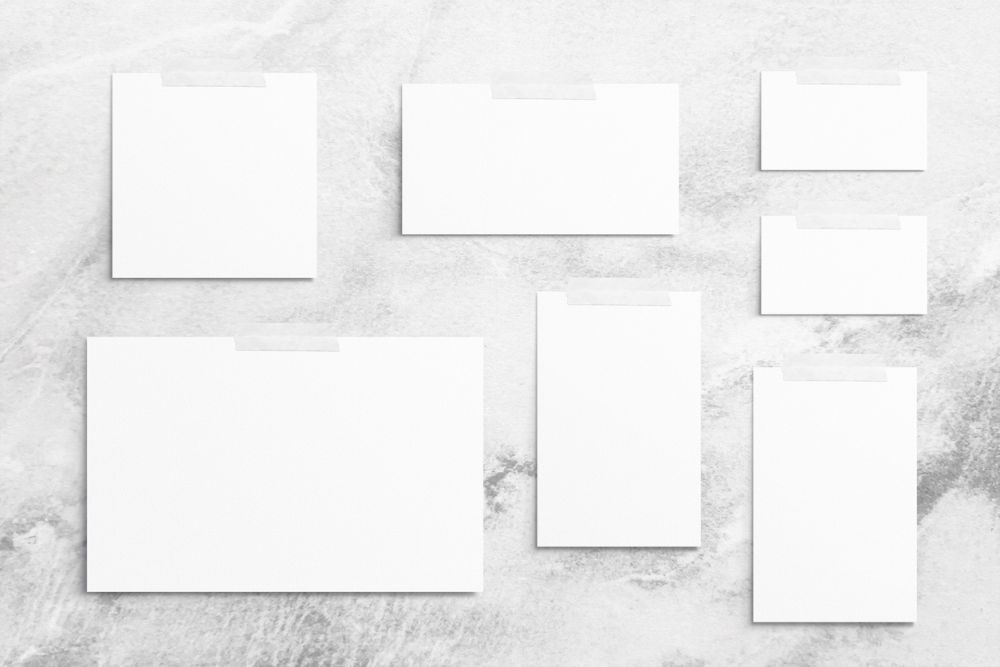
Testing the photo arrangement is crucial before hanging the photos. You’ve chosen a good spot, settled on a photo layout, made all the necessary measurements, and can’t wait to actually put up the gallery wall. As excited as you might be, it’s best to test the photo layout before damaging your wall since it’s easier to fix detail you’re unhappy with. Here is how:
- Stick dummy photo prints to the frame outlines: A dummy photo print is a printed copy of each picture that you can easily tear off the wall after concluding the test. You can scan your pictures and print them on regular paper to create dummy photo prints, which should be scaled to fit the picture frame. Using painter’s tape or masking tape, attach the dummy photo prints to the wall, each to its own frame. If you want to put up a quote, also stick a dummy print of the quote.
- Check how the photo layout looks: Take a step back, observe your projected gallery wall up close and from a distance, and check it from various angles. If your family and friends are part of the photo gallery, get them involved and ask yourselves the following questions:
- Are the pictures too big or too small? Is it better to rearrange them?
- Does the photo layout look cluttered or too empty? Is there enough space between the pictures?
- Is there enough space to add more pictures? Can I replace the pictures easily?
- How does my gallery wall make me feel? Is it sending the message I want?
- Is the lighting okay? How do the pictures look during the day and at night? Do they need more light?
- Make any necessary adjustments: If something is off with your photo layout, you might have to rethink your strategy. For example, when creating a photo gallery above the staircase wall, the pictures should be entirely visible above the stair railing when viewing the gallery from a distance. If the staircase is enclosed, there’s no point in showcasing huge pictures since there’s not enough space to take a step back and observe the entire ensemble.
8. Hang the photos and add finishing touches
After successfully testing your ideal photo arrangement, it’s time to move on to the main event: hanging the pictures and completing your gallery wall. Here are our tips:
- Hanging system: How you hang the photos depends on the wall material, frame type, and frame size. For instance, to stick lightweight frames to drywall, you can use adhesive strips or mounting putty. For attaching heavy frames to cinder block, you need concrete screws, expansion bolts, or hardwall hangers.
- Start from the middle: If you’re unsure of how to proceed to put together your gallery wall, we suggest starting with the center or larger frame and working your way around it.
- One picture frame at a time: Instead of drilling all the frame holes in the wall at once, drill one hole to hang one photo frame before moving on to the next, although it takes longer. This way, if you made any mistakes when creating and testing the picture layout, it’s your last chance to fix them before causing permanent damage to the wall.
- Other embellishments: After hanging the picture frames and including any quotes, you can add more details to your gallery wall if you feel that something’s missing. For instance, plants, candles, flower vases, or string lights can make a gallery corner cozier. It all depends on your personality and style, so be sure to have fun with it!
FAQ
Check out simple answers to common questions about gallery walls:
Is there an app to create a gallery wall?
Yes, there are many online apps you can use to create a gallery wall, such as Canva, Wexel Art, or QIK FRAME.
What should you not do on a gallery wall?
Some common mistakes when making a gallery wall are not planning anything, not leaving the same spacing between the picture frames, and not researching the ideal hanging systems for heavy frames for various wall materials.
How do you blow up family photos for wall art?
There are several ways to blow up family photos for wall art. The easiest method is to employ the services of a print shop that prints large pictures, which you can use as a stencil for wall art. Another method is to use a projector to project the image onto the wall, trace it with a pencil, and paint using the outline as a guide.
Conclusion
To review, a photo gallery wall is an excellent opportunity to showcase your treasured memories of family and friends, artwork, posters, prints, or any other visual elements. By following a healthy set of rules and tips like the ones described in this article, you will successfully organize a gallery wall.